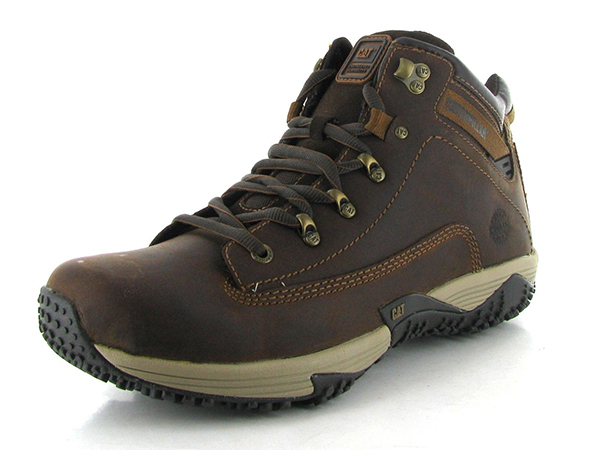
The model of your work boots determines whether the soles attach with thread or glue. Sewn-on soles feature visible threads, while glued soles do not. To remove the sole, regardless of whether it is glued or sewn, look for any screws or nails in the heel. Use a flathead screwdriver or nail puller to remove any fasteners. Be sure to save the fasteners for later use. With the fasteners out, pull off the outer sole with a sharp knife. Sewn-on soles have three layers: the outer sole, a middle rubber layer, and a bottom leather layer. Put the knife between the outer layer and middle layer, and work it around the outside until the sole is off. If the sole attaches with glue, there are only two layers: the outer sole and permanent bottom layer. Put a knife between these two layers and pry the sole off in the same manner.
Clean and Prepare the Middle Sole
After you remove the glued soles, use acetone to remove any excess glue or debris. A clean surface ensures nothing gets in the way of the bond between the two layers. For sewn-on soles, check the threads to ensure they are intact. If a thread has a rip, or looks worn out, bring it to a professional repair shop or replace the threads with a sewing awl and heavy-duty waxed thread. On a sewn sole, check the rubber layer for any tears, rips, or other damages. To replace a rubber layer with heavy damage, pry it off with a knife between it and the permanent leather layer.
Use an awl and heavy-duty wax thread to attach the new middle layer. After the sole is clean, use sandpaper to prepare the surface. The coarse texture of the sandpaper creates pores in the middle sole, which improve its ability to bond to the outer sole. It is also advisable to use sandpaper on the inside of the new rubber sole to prepare it for adhesion. Wear work gloves and wipe away any leftover residue from the sandpaper. Avoid direct contact with the bottom soles, because body oils make most adhesives weaker.
Attach the New Sole
Because shoe adhesives vary, follow the manufacturer's recommendation above all else. Evenly apply a flexible shoe adhesive to the bottom of each sole. Pay special attention to the edges of the sole; apply extra if need be. Put the sole on immediately, or give the adhesive time to become tacky. Align the sole with the bottom of the shoe and push it into place. Start at the toe and work toward the heel. Press firmly and curl it until it sticks. Bend the sole toward the heel to set it. Next, put it on a hard flat surface with the soles facing up, and pound the entire area with a hammer. To guarantee the adhesive bonds properly, squeeze the boots between two boards with a tie or clamp. Place a wedge in the arch of the boot, just above the heel, to protect the form of the sole. Let the boots sit for 24 hours and check the strength of the adhesive's bond upon removal.
Trim Excess Sole Material and Finish
With a sharp knife or pair of shop scissors, trim the outside of the new rubber sole. Use a sandpaper block or a power sander to even out any problem areas. Work slowly and deliberately to produce a high-quality result. If the rubber soles require fasteners, put short nails in the holes and pound them in with a light hammer.
| https://www.facebook.com/Macys20OFF50CouponInStore20OFF |
No comments:
Post a Comment